 |
| Panel lined legs of Strike Freedom HG 1/144 |
Panel Lining is probably the easiest way of putting additional details on your gundam model and I'll show you my way of doing it. I'll make use of the HG Strike Freedom's legs as a perfect example to show you how important panel lining is. Just imagine what the legs look like without those black panel lines. I can assure you its very dull. That is why panel lining is important because it makes your gundam model more complete. So lets get started on the panel lining tutorial.
 |
| Gundam Marker |
 |
| Ordinary permanent marker |
Gundam Markers are the main tool in panel lining. The black color is the one commonly used. You can buy it in most local hobby shops that sells gunpla. But if your on a budget, you can make use of an ordinary marker. Just make sure its a permanent marker and doesn't easily wear off. I tried using an ordinary permanent marker and it works well just like a gundam marker. You just need to be conscious about the brand and quality of the marker before buying it.
 |
| Left arm of the HG 00 Qan[T] |
Now let's start panel lining. First take a part you wish to panel line. Its better to panel line right away after taking a part from the frame. It makes your job a lot easier. I'll make use of the HG 00 Qan[T]'s left arm as an example. You could clearly see the line there. All we have to do is get a marker and draw a line there.
 |
| Drawing a straight line |
Panel lining is simple as drawing a line. Just use your marker to draw a line on the panel. Do it slowly and firmly to avoid getting over the border. It is also advisable to panel line in a working place with good lighting.
 |
| Instant panel line |
We've finished panel lining the part in an instant. Very simple, right? But don't think that panel lining is always easy. There are some parts that are difficult to panel line such as circular panels and narrow areas. Smudges and excess markings are likely to happen during this times. But don't worry because I included some tips on how to erase this hard to avoid excess markings in the later part of my tutorial. Please continue reading and lets proceed to the next step which is panel lining thin areas.
 |
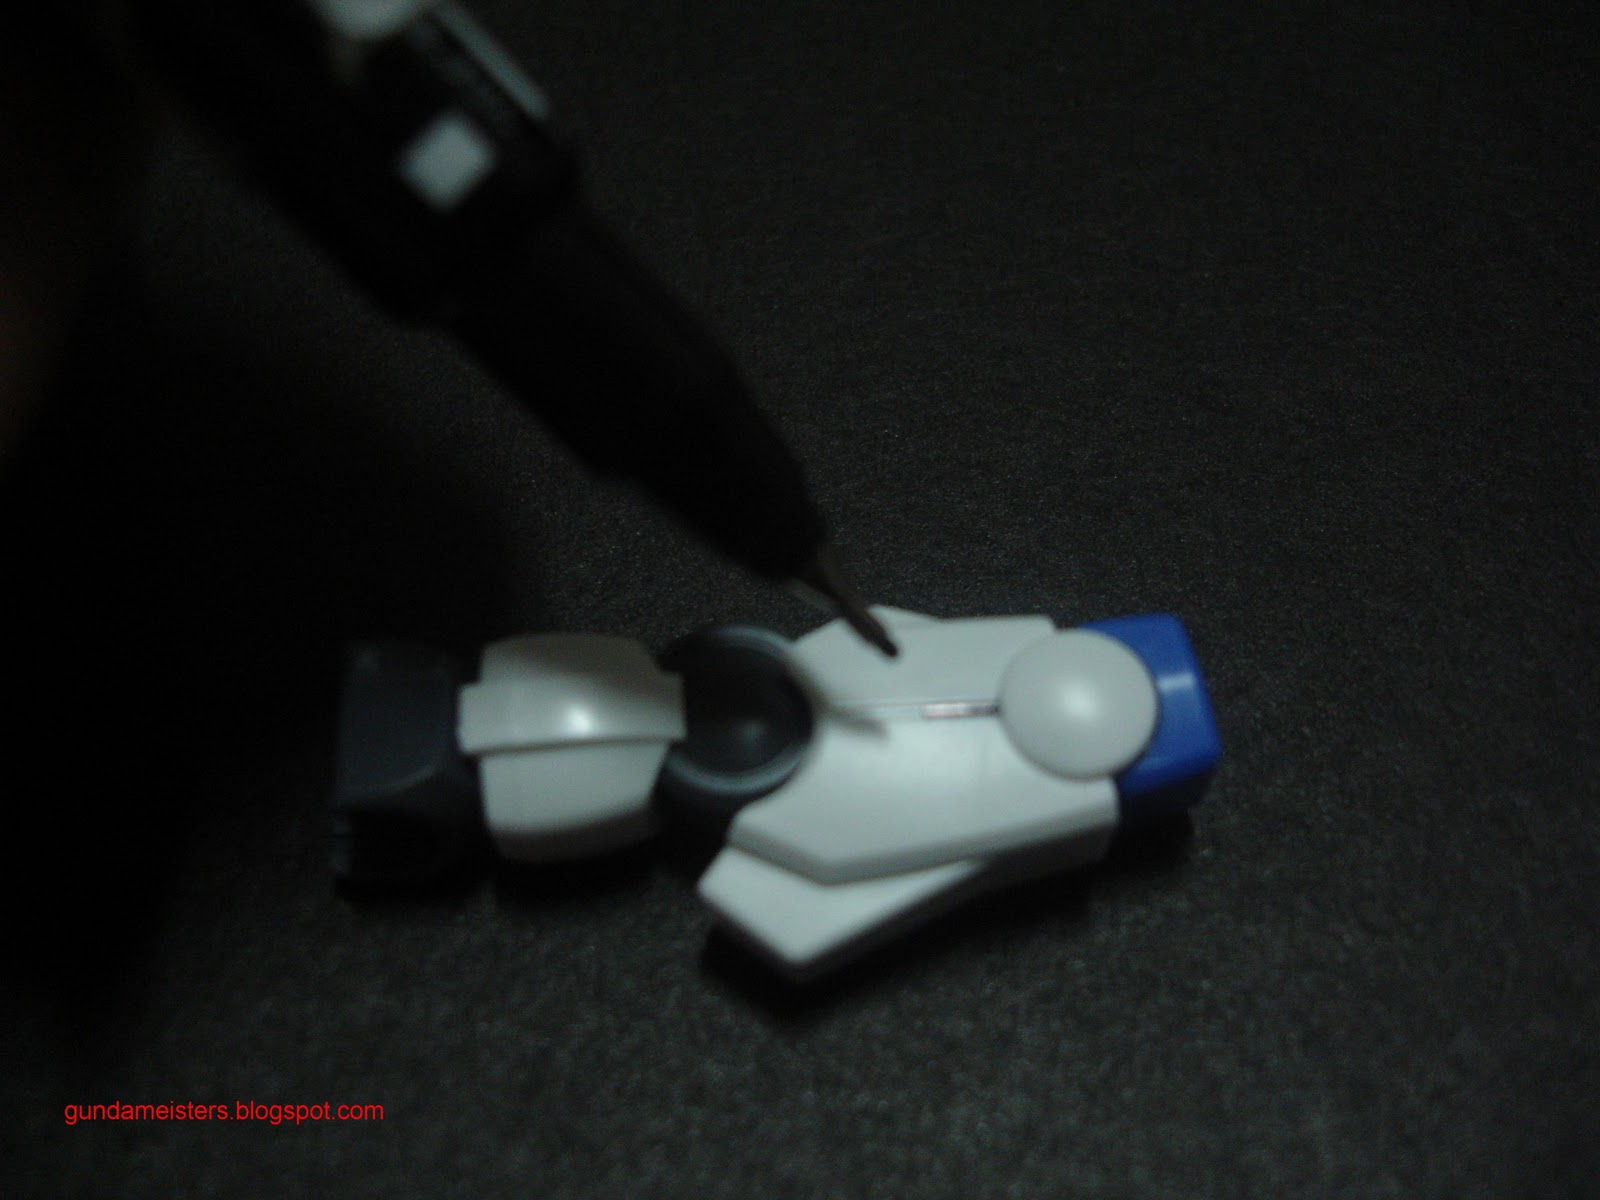
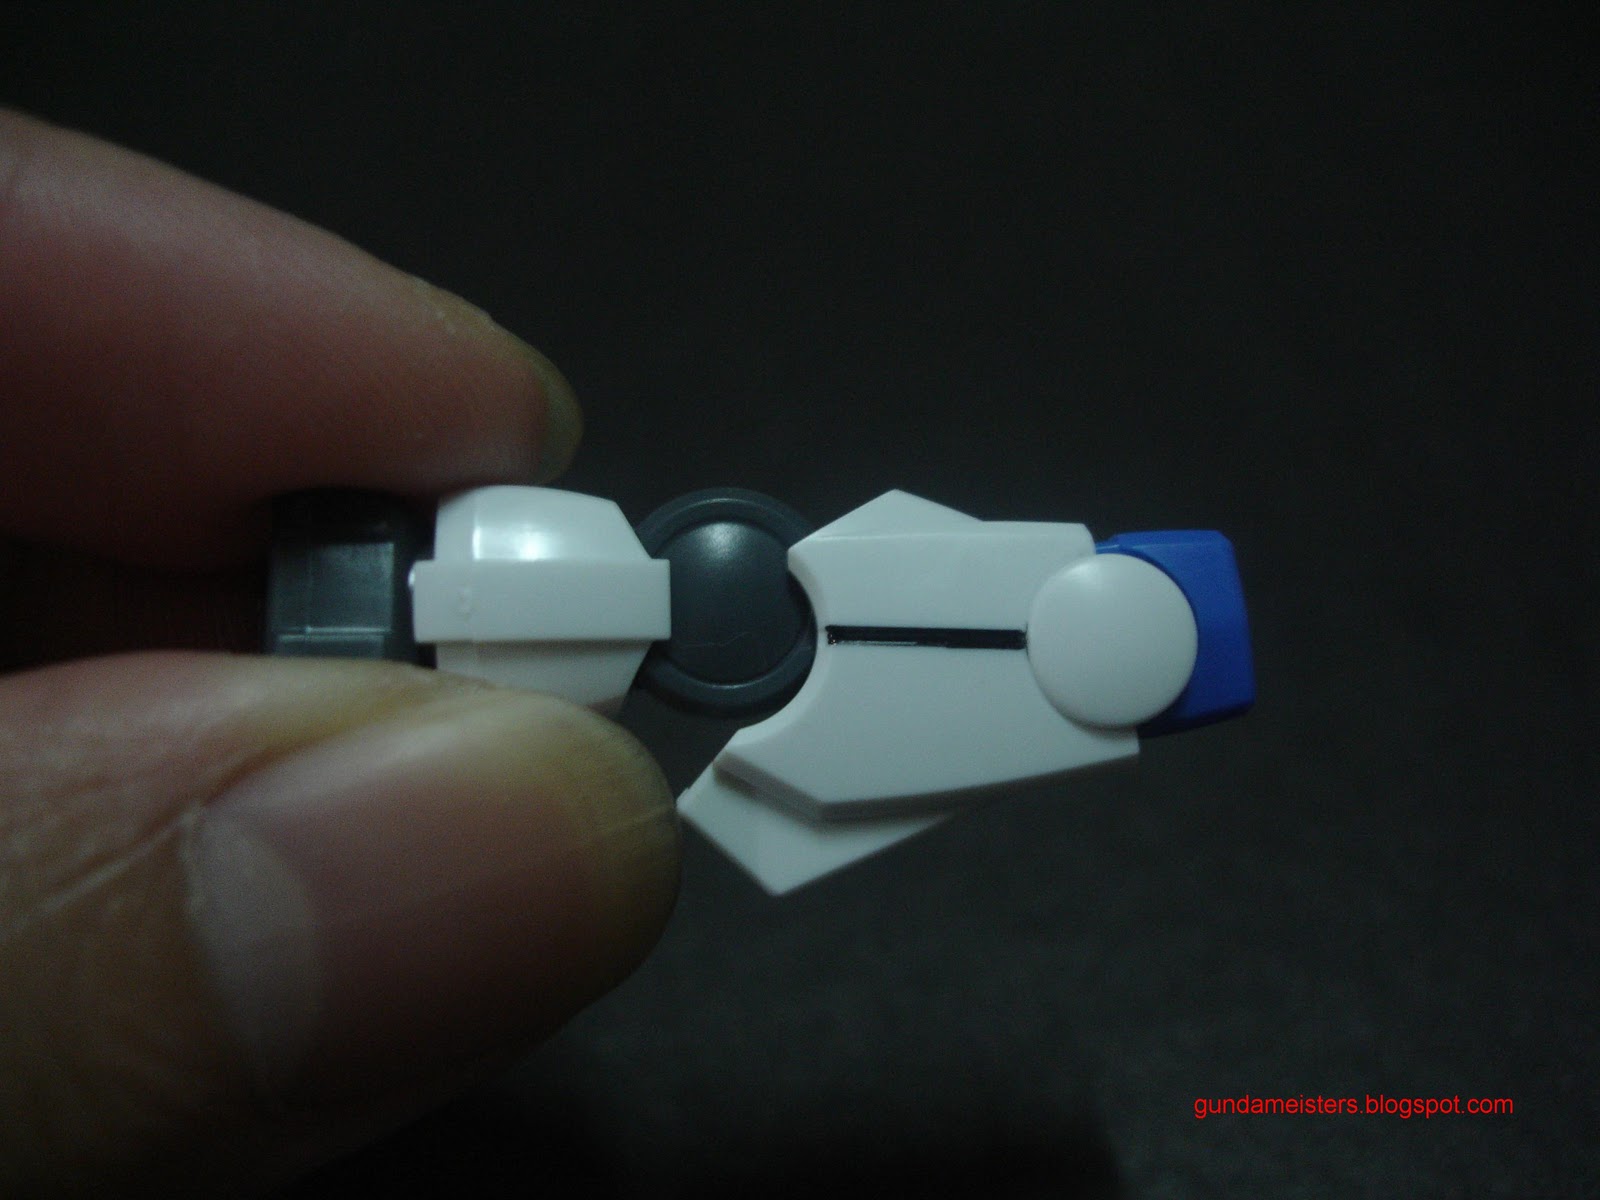
| Thin panels |
There are some thins panels that the marker couldn't reach. Just like the hand of the HG 00 Qan[T] on the picture above. The panels are too thin that the marker won't go through. In this case we'll need to use a pointed object to reach those thin lines.
 |
| Paints |
 |
| Needle and Toothpicks |
The easiest way to panel line those thin areas is to use a needle or toothpick. This is commonly used on the head part because the panels are too thin for the marker. Just dip the needle or toothpick on a paint or on a smudge from the marker and apply it on the thin panels. Remember to be careful not to puncture yourself. Afterwards don't forget to dispose of the used toothpicks and put the needle in a pin cushion.
 |
| Thin area panel lined |
Now we're finished panel lining the 00 Qan[T]'s hand. Thanks to the panel lines, it looks more complete than it was before. But were not yet done. Its time to proceed to the next step. Next, I'll be showing you some ways on how to remove those excess markings.
 |
| Excess markings |
Don't panic if you accidentally missed a panel and caused unwanted markings. Attempting to erase it right away might cause the smudge to scatter even more. Instead, wait for it to dry before erasing it. Now I will be showing you some ways on how to erase this unwanted markings.
 |
| Eraser |
Who would have thought that an eraser would be usable in gunpla. Its affordable and easy to use. All you have to do is rub it against the excess markings until it disappear. But this could also depend on the quality of the eraser. Another problem is that the eraser can't reach small areas. In this case we'll need to use another method which I will show you on the next step.
 |
| Cutter / Design Knife |
You could try scratching off the excess markings using your nails. But this is not very effective. Instead, lets use a design knife or cutter to scratch away those unwanted markings. This is more effective and easy to do. It can also reach those small areas that the eraser can't. Just be careful not to cause any damage or hurt yourself.
 |
| Panel lining finished |
Now its clean and free from any excess marks. We're finished with the tutorial and you have everything you need to know about panel lining. As you can see panel lining is fun and easy to do. Its a part of the gunpla hobby and it makes your gundam model complete. So get your gundam model and try it out yourself.
Its also advisable to search on the internet for a panel lined example of your gundam model so that you will have a guide on which parts should be panel line. Thats all about it. Thank you for reading my tutorial and look forward to my future posts.


thanks for the tutorial, very usefull for me :D
ReplyDeletevisit my blog MygundamTricks
Your welcome. We're glad it was helpful. You have a nice blog as well.
Delete